
5 Ugly Surprises We Found on One Project
At Blue Jay Exterior Renovations, we only work on (you guessed it) exterior renovation projects. Working every day on siding renovations means that we come across a ton of unexpected surprises. In fact, more than half of our projects will include some kind of curveball that we have to deal with during the installation.
This is a story about a project that we worked on where we didn’t just encounter one unpleasant surprise, we found five!
The Project
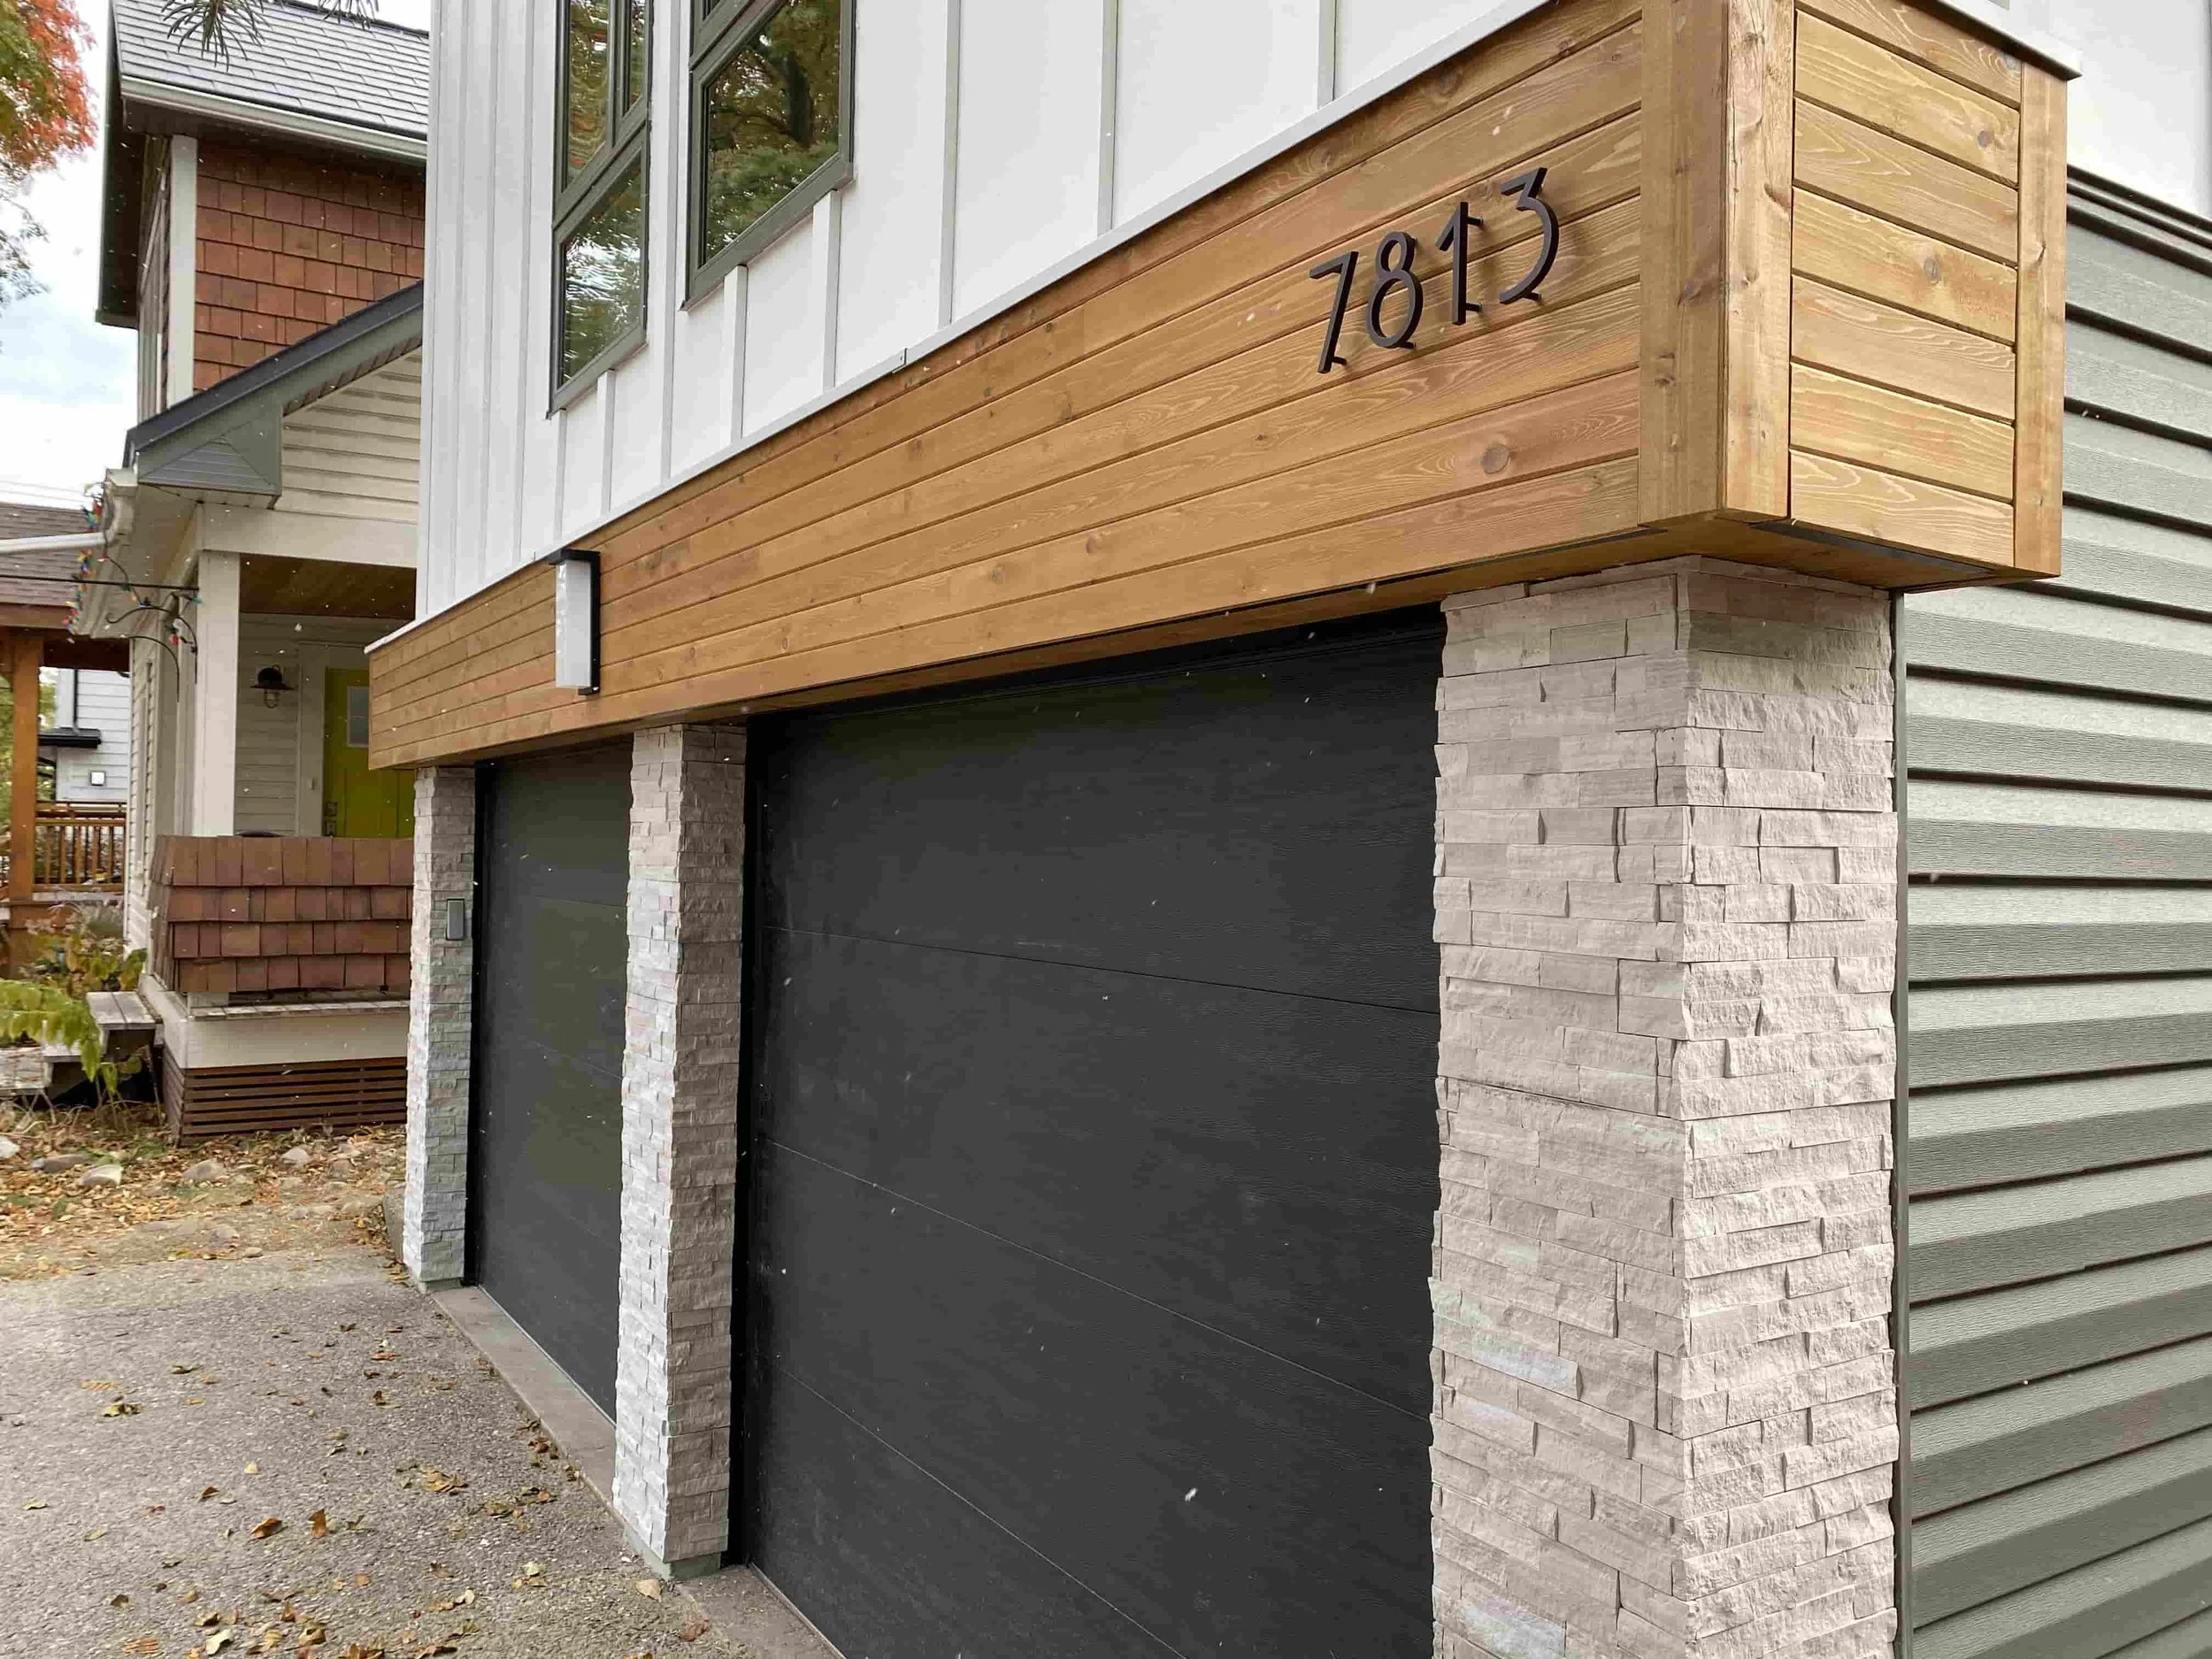
We first met these homeowners in January of 2019. They wanted to remove their old stucco and wood siding, and really transform the look of this unique home built in the early 1980s. We sent them our original quotes, did some revisions, and were ready to get started in early 2020. That’s where the trouble began.
(For a detailed breakdown of the beautiful design of this home, including some stunning before and after shots, click here for the project page.)
Problem 1: Asbestos
As part of our standard process when we remove stucco installed before 1990, we always bring a sample of the stucco into a lab for asbestos testing. Our test for this project came back positive: confirmed for Chrysotile asbestos. Here’s what the report showed:

Asbestos is a carcinogenic mineral that was used in all sorts of building materials in the middle parts of the 20th century, and it was used in some stucco compounds as late as the 1980s. Breathing in asbestos dust is extremely dangerous, and is known to cause cancer, mesothelioma, and a number of other nasty diseases.
The lab test only found a small amount of the asbestos in the stucco, just 1 to 3 percent, but this was enough to grind the project to a halt. Removing stucco is a messy business that creates a ton of small dust particles. Normally, this is just a nuisance rather than a danger. But in order to remove an asbestos stucco, you need to hire a trained abatement team. For this home, this meant the customers had to spend an extra $20,000 over and above what they originally had planned.
While the homeowners decided how to proceed, they put the project on hold. After a few months, they decided to proceed with a few revisions to the exterior to help make up for the extra cost of the stucco removal.
Problem 2: Rot, Rot, Rot, and More Rot
Take a look at the way the roof of this home was designed. It features a steep sloped roof with no eave overhangs, which makes for a beautiful design, but isn’t super practical for a cold and snowy city like Edmonton. Over the years, this led to way too much water running off the roof and straight down the walls. Combine that with a really dumb ventilation strip cut into the wall and two-foot bands of horizontal cedar siding, and you have a perfect recipe for major water damage.
The end result was 4 areas of significant structural rot damage. Two separate corners, the 6-ply post between the garage doors, and one area near the roof all needed repairs to the 2x6 framing. Altogether, the rot repairs resulted in change orders totaling $1,500.00.
Here is a gallery of the major rotten areas that we uncovered, as well as one example of how the repaired framing (and new insulation) looks now:


Problem 3: Ants!
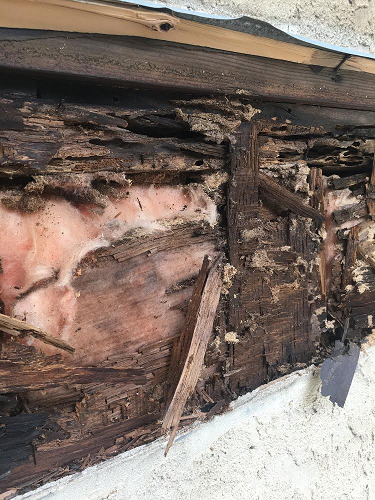
Look closely and you’ll see the “galleries” of a carpenter ant nest!
Once some of the rotten wood was uncovered, there was another surprise: ants! While carpenter ants are not as destructive as termites, if left unchecked they can create significant issues for the structural stability of a home. Carpenter ants love to nest in moist and rotten wood, because it’s easy for them to chew through it and create the galleries they live in.
We connected the homeowners with our preferred exterminator, who came in and sprayed the nest before we re-framed the wall. (Our carpenter ended up with quite a few ant carcasses in his vacuum)
Problem 4: Loose Plywood
Whoever built the home originally took a shortcut that almost became a huge problem 37 years down the line. When they installed the plywood sheathing, they tacked it in with far fewer than the standard amount of nails. Then, when they installed the wire mesh for their stucco, those nails secured the plywood to the framing.
In a standard HardiePanel and Batten installation, this would not have been a concern. Usually, HardiePanel is installed with nails penetrating into studs, so under normal circumstances the panel nails would have re-secured the plywood and everything would have been fine.
But on this project, the customer came up with a very specific design that required us to nail the panels into the plywood only, and not hit studs. If we hadn’t noticed that the original plywood was not structurally fastened to the home, there’s a very good chance that in a few years the 100 pound panels would have fallen off the wall, plywood and all.
In order to make sure this didn’t happen, we simply added more nails! A full row of sheathing nails into each stud did the trick.
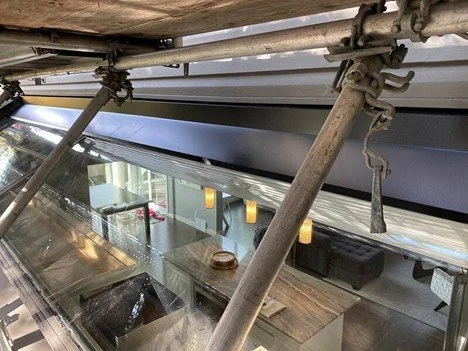
Problem 5: The Leaky Skylight
This skylight overlooks the kitchen counter and stove: a key focal point of the interior design
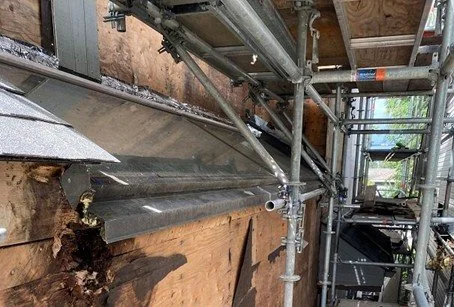
Once the asbestos abatement was completed, the homeowners noticed that their kitchen skylight was leaking. Because the stucco was gone, the original head flashing that kept water from getting between the window and the plywood was no longer functioning correctly. As a temporary measure, we installed a peel and stick flashing tape to seal the top of the flashing to the plywood, until we could design and install a new flashing.
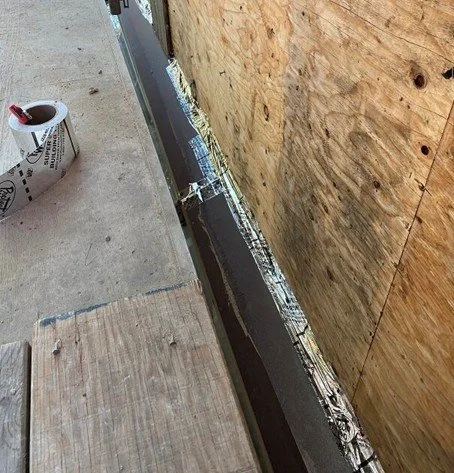
Temporary peel & stick flashing to kept the water out while we worked
Unfortunately the surprise didn’t stop there. It turned out that this original flashing is somehow integrated with the window, and part of it actually extends into the wall assembly. Therefore, we had no way to remove it. To make matters worse, the stucco removal left the original piece in rough shape, and it was very uneven.
In the end, we designed a new oversized flashing that could completely cover the old one, and properly seal the window. It’s made from 26-gauge steel, and features a built in horizontal accent trim which looks awesome, but also gave us enough space to completely cover the ragged top edges of the original flashing.
The new skylight flashing is completely invisible from ground level. In fact, the only way to see it now is from one window inside the home that overlooks the skylight. All the same, we made sure that the new flashing didn’t just properly seal the window, it looks great too.
The point of this article is not to scare you into thinking that all siding renovation projects are extremely complicated: it isn’t usually this much trouble! In fact, only about one in five projects that we work on requires any change orders at all!
The important thing to remember is that no contractor can truly predict everything that might come up during a renovation project. That’s why it’s key to work with a company with a track record of success when the “you know what” hits the fan. If your contractor doesn’t know what to do when surprises like this one come out into the open, it will likely cause the whole project to go sideways.